For demonstration purposes, pretty much. I guess we could grow lettuce or something, but for the most part we are just playing around to see how well it works.
Pardon the lighting in the pictures.
You will need:
2 Styrofoam coolers
heavy duty trash bags
1 aquarium air pump
2 airstones
plastic tubing
1 t-connector
duct tape
plants
some kind of fertilizer...We haven't added any to ours yet, because I can't remember where I put that bottle of fish emulsion.
Step 1: Styrofoam coolers will leak after awhile. So, you need to line them with the plastic bags. Use the duct tape to hold the bags in place.
They should look like this.
Step 2: If your plants are in connected containers, cut them apart. Trace the bottoms onto the inside of the cooler lids. When you cut, make the holes a little bigger to accommodate the containers. We made six holes in each lid.
Your lids should look like this.
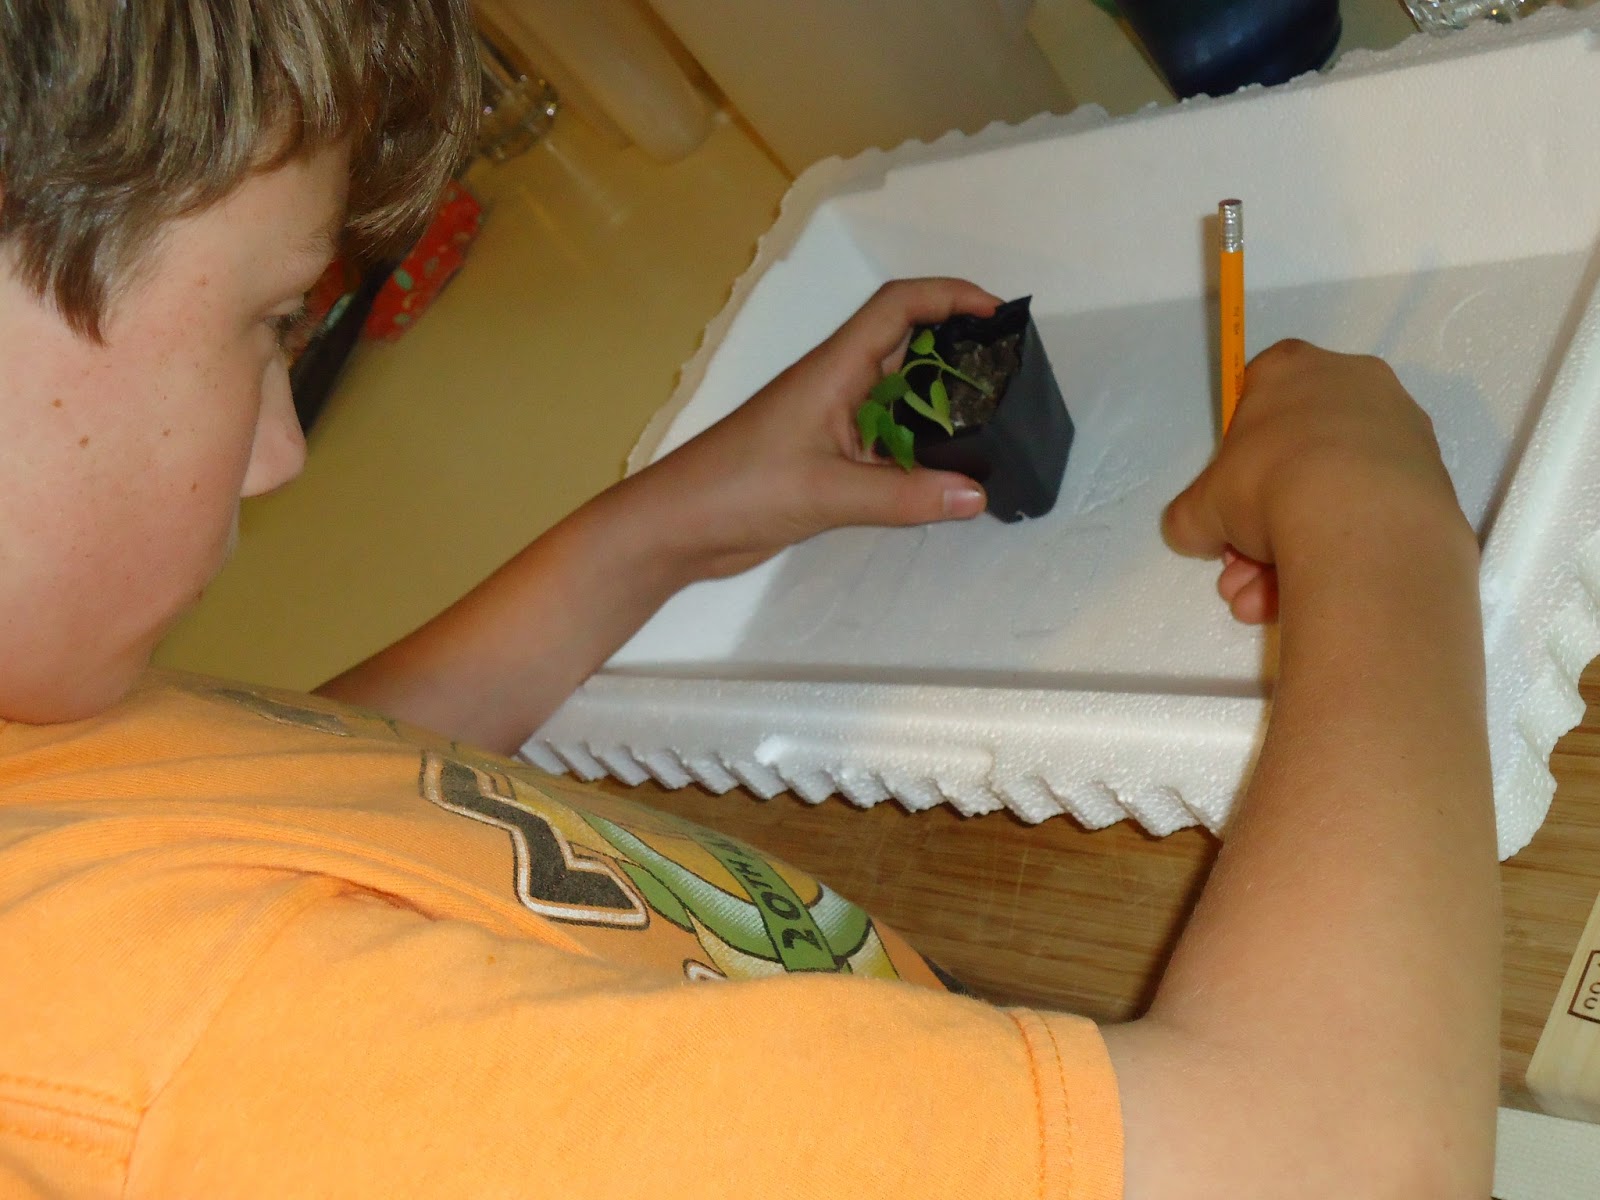
Step 3: One at a time, remove the plant from it's container. Cut a hole in the bottom of the container. Gently remove most of the dirt from the plant's roots. Place the plant back in the container with the roots dangling through the hole.
It should look like this.
Step 4: Using a screwdriver, poke a hole in the top of the one side in both coolers. Feed a length of tubing through each hole. The tubing should reach the bottom of the inside of each cooler.
It should look like this.
Step 5: Using the t-connector, connect both tubes from the coolers with a tube that is connected to the air pump.
Step 6: Attach the airstones to both tubes in the coolers. Fill the coolers with water. At this time, if you know where your fish emulsion (or whatever you are using) is, add it now.
Step 7: I realize this is a very poor picture, but the bottom of the lids should look like this. Place them on top of the coolers. Rearrange any small plants that are trying to fall through the holes.
Place the whole contraption under a light. You could put it outside if you have a newer house than I have....one with outlets installed on the outside. Plug it in and hope for the best.
It would be interesting to do this with aquariums which would allow the fish to fertilize the plants.
Because it's what we had laying around, we planted basil, petunias and some kind of unidentified, ornamental perennial.


